A Comprehensive Guide to Bedroom Cleaning?

A Comprehensive Guide to Bedroom Deep Cleaning?
The last time you gave the bedroom a deep clean? No, not the vacuum-and-dust in a flash, but the whole-meal, bottom-to-top cleanup? Likely, your bedroom was the last place on your mind when it comes to deep cleaning that you thoroughly clean, especially because it is where you sleep and relax, and spend about one-third of your life. Why, then, not turn it into a sanctuary?
And we shall take you through the ultimate bedroom deep cleaning checklist that will see your space sparkle, shine and look so inviting. It could be something hidden in unseen corners, something under the bed, we are digging it up. Are you up to the task of renewing your most loved room? Time to get your own together and jump in!
Steps To Clean Your Bedroom With Deep Cleaning?
Therefore, organising and cleaning up your bedroom is the key to proper relaxation. Make up an exhaustive cleaning checklist to keep in line-just like professional Bond Cleaning Parkwood do.
Step 1: Arrange Your Cleaning Caddy and Gather Supplies
Preparation is always the first step of any goal one wants to achieve. The planning part here is the organisation of the cleaning caddy. Energy and time expenditure will also be saved in the long term as all the tools and products will be in one place. Make sure your caddie is equipped with a mop, vacuum cleaner, broom, duster, wet cloth, laundry detergent and upholstery cleaner. This is a pre-planning that helps eliminate the problems of interruptions on the way to tidying and therefore improves the efficiency and fluidity of work.
Step 2: Collect and Get Rid of Clutter
Following the collection of all cleaning supplies, the room must be thoroughly cleaned. In this step, you will go around the room and get any clutter that is on the floor, like old receipts, tissues and tags. Havingg a small dustbin in your room can eliminate a lot of clutter daily. After gathering all the clutter, the dustbin must be emptied, and a new garbage bag must be put in place. In this step, any misplaced objects like books, cables, shoes, etc. They are also put back in their proper place. Carrying out this step helps enhance the efficiency of deep cleaning the room.
Step 3: Turn Clothing Scattered on the Bed and Floors into Order
And now we must do something with the garments that lie upon the bed or the floor. Hang the washed clothes and store them in your cupboard or drawers. Now you can use clothes that are going to a laundry hamper. As long as there is no laundry basket, still making sure one is in the room can help keep the mess out of the way. When the basket is full, empty it into the washing machine. This will enable you to maintain a clean room every day as opposed to just mountains of clothes lying around your room.
Step 4: Remove the Duvet and Pillow Covers
After sorting your clothes, it is time to work on the bed. Take off all the sheets, pillowcases, and duvet covers too and bung them in the wash. To stop them from becoming stale then they need to be cleaned frequently. If daily washing can’t be done at the very least, make sure to shake them outside and apply fabric stain removers to any visible stains. For your mattress, use a vacuum to clean it, and then turn it over and vacuum that side as well. Aim to turn your mattress at least once every three months. For upholstered items in the room, clean them using appropriate cleaning solutions.
Step 5: Remove All Surface Clutter Wisely
Once you have cleaned your bed, the next point of focus should be on the surrounding surfaces. Remove things from of shelves and wipe using a damp cloth or microfiber duster. The most important thing is the dust on nightstands, dressers and craft supplies. Remember also ceiling fans, air vents and ceiling mouldings. Finish the procedure by using antibacterial wipes to clean tabletops, chair legs, and bedposts.
Step 6: Dust lamps and vacuum curtains
Lamp stands and curtains accumulate dust, and thus, it can lead to poor air quality. To enhance air quality, the dust on the lamps should be wiped on the lamps using a microfiber cloth, top to bottom. Curtains can be swept or rubbed lightly by a vacuum, as this will help improve the air quality. During this pandemic, it is highly desirable that the quality of the air is not irritating.
Step 7: Arrange Your Surface Area Systematically
Once all surfaces are clean, make sure to organise and declutter them as well. Use trays, boxes and organisers to sort the items methodically. In addition, if items such as bracelets always seem to disappear, an elegant tray keeps them out of harm’s way while also displaying them. Now, you can also hang hooks on the walls to keep masks, keys, and bags. Also, dedicating a tray to phone chargers, wallets, and other items to be used daily. The organisation of surfaces not only make the rooms ordered, but also beautiful and more functional.
Step 8: Eliminate Stains From Windows by Applying The Correct Methods
Now that surfaces are decluttered, focus them on windows. To remove the fingerprints and smudges, apply some cleaning solution and glass cleaner to the panes and wipe to clean using a microfiber cloth. Clean windows will always have clear panes of glass since dust takes away the light; therefore, it instantly clears a room. Additionally, wipe glass mirrors and glass doors. Use stools and step ladders to scrub the upper areas, a nd kneel to vigorously scrub the lower corners. Obstinate dirt can be due to non-compliance with cleaning windows as required by the bond cleaners; hence, regular cleaning will keep the place updated and free of dirt.
Step 9: Clean the Room by Scrubbing and Vacuuming the Room.
To clean the floors, the cleaning process should commence by sweeping the whole floor, vacuuming carpets and rugs. A thorough cleaning should be done in these areas. Utilise a vacuum cleaner with add-ons for hard-to-reach areas that can be beneath something or in your corner. Once vacuumed, fill a bucket with warm water and mix with mild detergent. Wet a mop in the mixture and begin cleaning all the hard flooring surfaces. Remove furniture like chairs and nightstands to open up spaces that are hidden and ensure that all hidden places are properly painted.
Step 10: Preparation of the Bed
This is the time to change the bed, such that the used sheets and pillow cases are removed and brought out to wash and change with the fresh ones. Apart from this, make sure that it has clean bedding, that the pillows have been fluffed up, and everything is straight and comfy. Cast a second look around at the work you have accomplished and delight in the transformation that has occurred. The bedroom that was full of mess has become a bedroom that is free of clutter and peaceful. The latter step not only finishes the deep cleaning schedule but also changes the bedroom into a place that is relaxing and that can contribute to the rest of the mind and body.
Wrapping Up
Although this may sound weird, the fact is that the bedroom will seem too clean after doing too much cleaning, yet with a specific course of action, it will, however, become a realistic possibility and a fun process. A clean and tidy bedroom results in good sleeping, concentration and a relaxed mind.
Related Posts
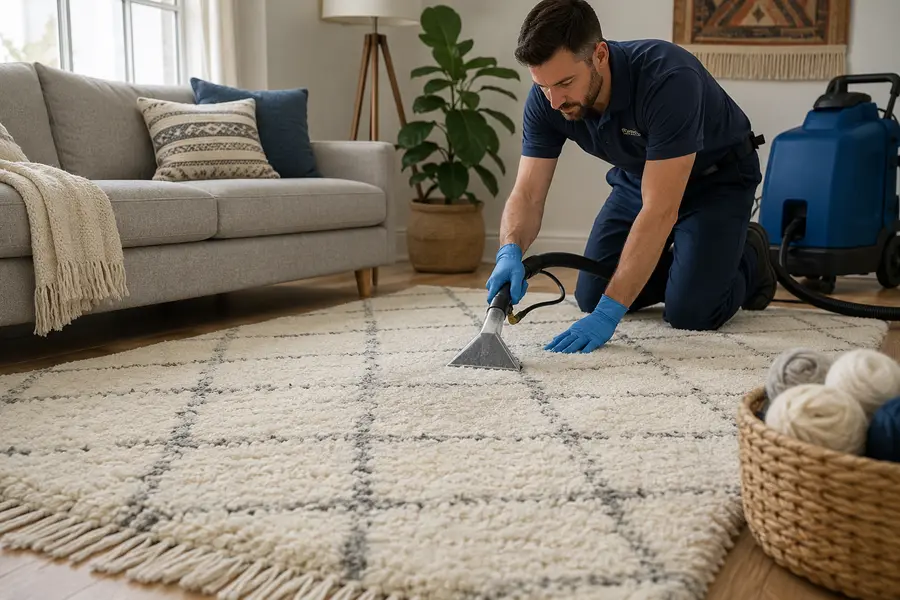
How Professional Wool Rug Cleaning Protects Delicate Fibres?
Have you noticed your lovely wool rug looking dull, rough or less comfortable than usual…

5 Vital Guidelines for a Spotless Home with Smart Cleaning
5 Vital Guidelines for a Spotless Home with Smart Cleaning Have you noticed sometimes you…
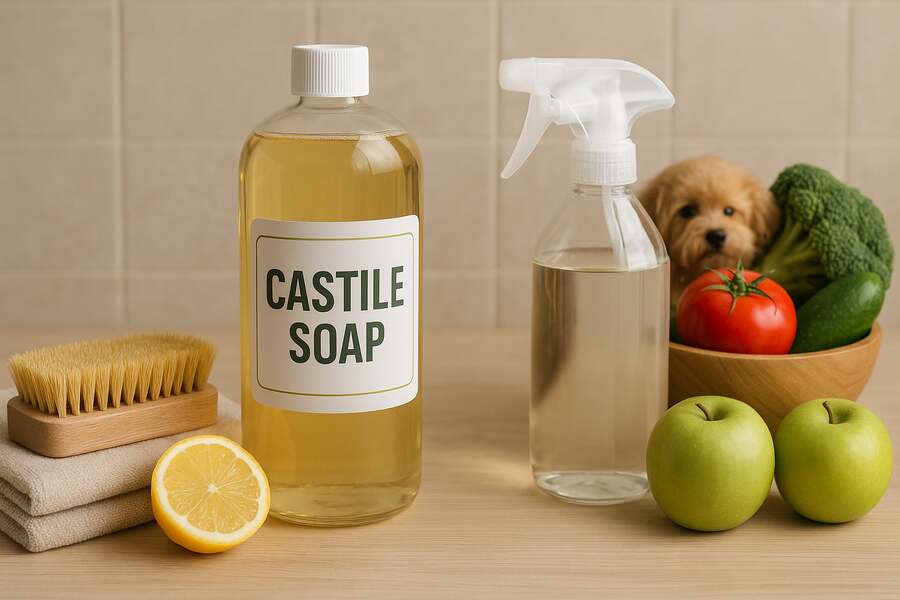
Go-To Guide for Natural Cleaning with Castile Soap
Go-To Guide for Natural Cleaning with Castile Soap Have you ever imagined whether the same…